Design your first PCB in KiCad, then hold it in your hand.
From an empty project to a real board: symbols, footprints, schematic, layout, Gerber files and the order. We build one small USB-C LED board together, step by step.
Chapters 1–2 free · KiCad 9 · for absolute beginners
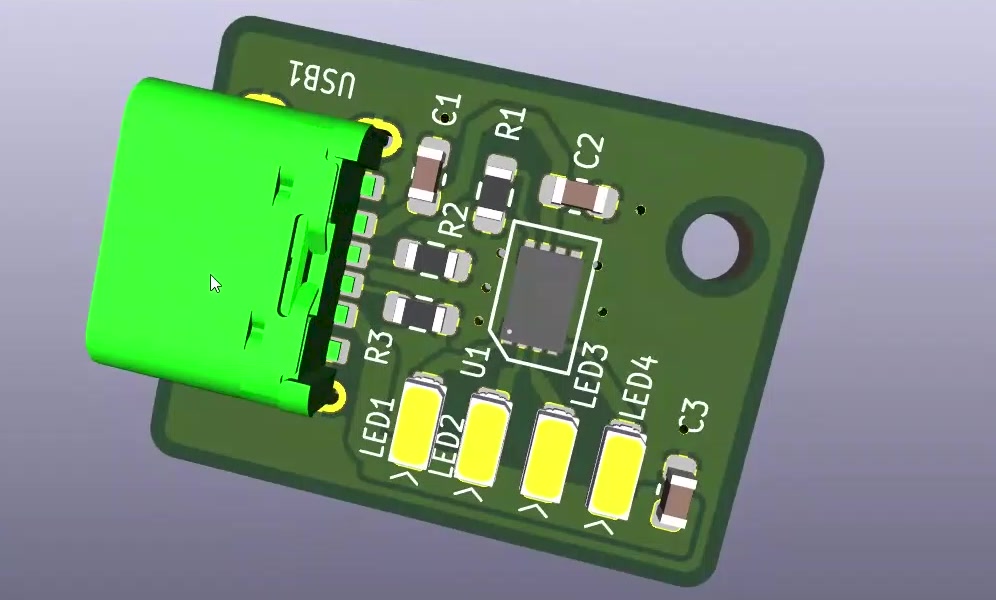
5 chapters, from an empty project to an order
1Getting started with KiCad free
Make your first KiCad project, see how schematic and PCB fit together, and learn to read a datasheet.
Getting started with KiCad free
Make your first KiCad project, see how schematic and PCB fit together, and learn to read a datasheet.
2Symbols and footprints free
Draw your own symbols and footprints for the LED driver, the LEDs and the USB-C connector.
Symbols and footprints free
Draw your own symbols and footprints for the LED driver, the LEDs and the USB-C connector.
3The schematic members
Connect every part in the schematic and pass the electrical rules check.
The schematic members
Connect every part in the schematic and pass the electrical rules check.
4The PCB layout members
Set the stackup, place the parts, route the copper and pass the design rules check.
The PCB layout members
Set the stackup, place the parts, route the copper and pass the design rules check.
5Manufacturing files and ordering members
Export Gerbers, drill, position files and the BOM, then order the board with assembly.
Manufacturing files and ordering members
Export Gerbers, drill, position files and the BOM, then order the board with assembly.
Watch, do, check
Watch
A short video of the whole step in KiCad.
Do
Numbered steps with screenshots and the exact values to type.
Check
What you should see, and fixes if you don't.
A computer and KiCad. That's it.
- Software
KiCad 9 (free)
Windows, macOS or Linux. Download it from kicad.org.
- Parts
Nothing to buy
We use real parts: the CAT4104 LED driver, four white LEDs and a USB-C connector. The datasheets are linked in the lessons.
- Optional
A PCB order
Only if you want the real board. Lesson 5.2 shows the whole order with assembly at PCBWay.
Check before you start
Good fit
You have never designed a PCB, or you tried KiCad and got lost. You know what a resistor, a capacitor and an LED are. No maths, no programming.
Not yet
Never opened KiCad? Start with chapter 1 anyway. It's free, and the first lesson starts from an empty project.
Start free. Pay when you want the rest.
Free
$0
- Chapters 1–2: your first project, datasheets, symbols and footprints
- All steps and screenshots
Full course
from $5 pay what you want, one-time
- Everything in Free
- Chapters 3–5: schematic, PCB layout, Gerber files and ordering
- The full project files: symbols, footprints, 3D models, schematic, PCB and Gerbers
- Ask questions in each lesson
- Lifetime access
14-day money-back guarantee, no questions asked.
Questions
Do I need any experience?
No. The course starts from an empty KiCad project. If you know what a resistor and an LED are, you are ready.
Which KiCad version?
The lessons use KiCad 9. It is free and runs on Windows, macOS and Linux. Newer versions look almost the same.
The videos are on YouTube. What do I pay for?
The written lesson pages: every step with screenshots, the values to type, the checks and the usual fixes. Plus the project files (symbols, footprints, 3D models, schematic, PCB, Gerbers) and questions under each lesson.
Do I have to order the board?
No. You can stop after the Gerber files. Ordering is the last lesson, if you want the real board in your hands.
What if I get stuck?
Each lesson ends with “What you should see” and the usual fixes. Members can also ask a question under any lesson.
How do I open the members' lessons after I pay?
Log in at steppeschool.com. Chapters 3–5 are there with all steps.
What if the course is not for me?
Write to us within 14 days and you get your money back. No questions asked.
Start with chapter 1 today. It's free.
Make your first KiCad project and draw your first copper track.